How To Make Digital Student Portfolios For Free!

I have been making Student Portfolios for a long time and it’s always been one of my favorite parts of the school year. I love keeping track of the student’s progress and recording their growth, but the best part about student portfolios is watching the student’s faces light up when they share them with their parents for the first time. You can see some of my ideas here.
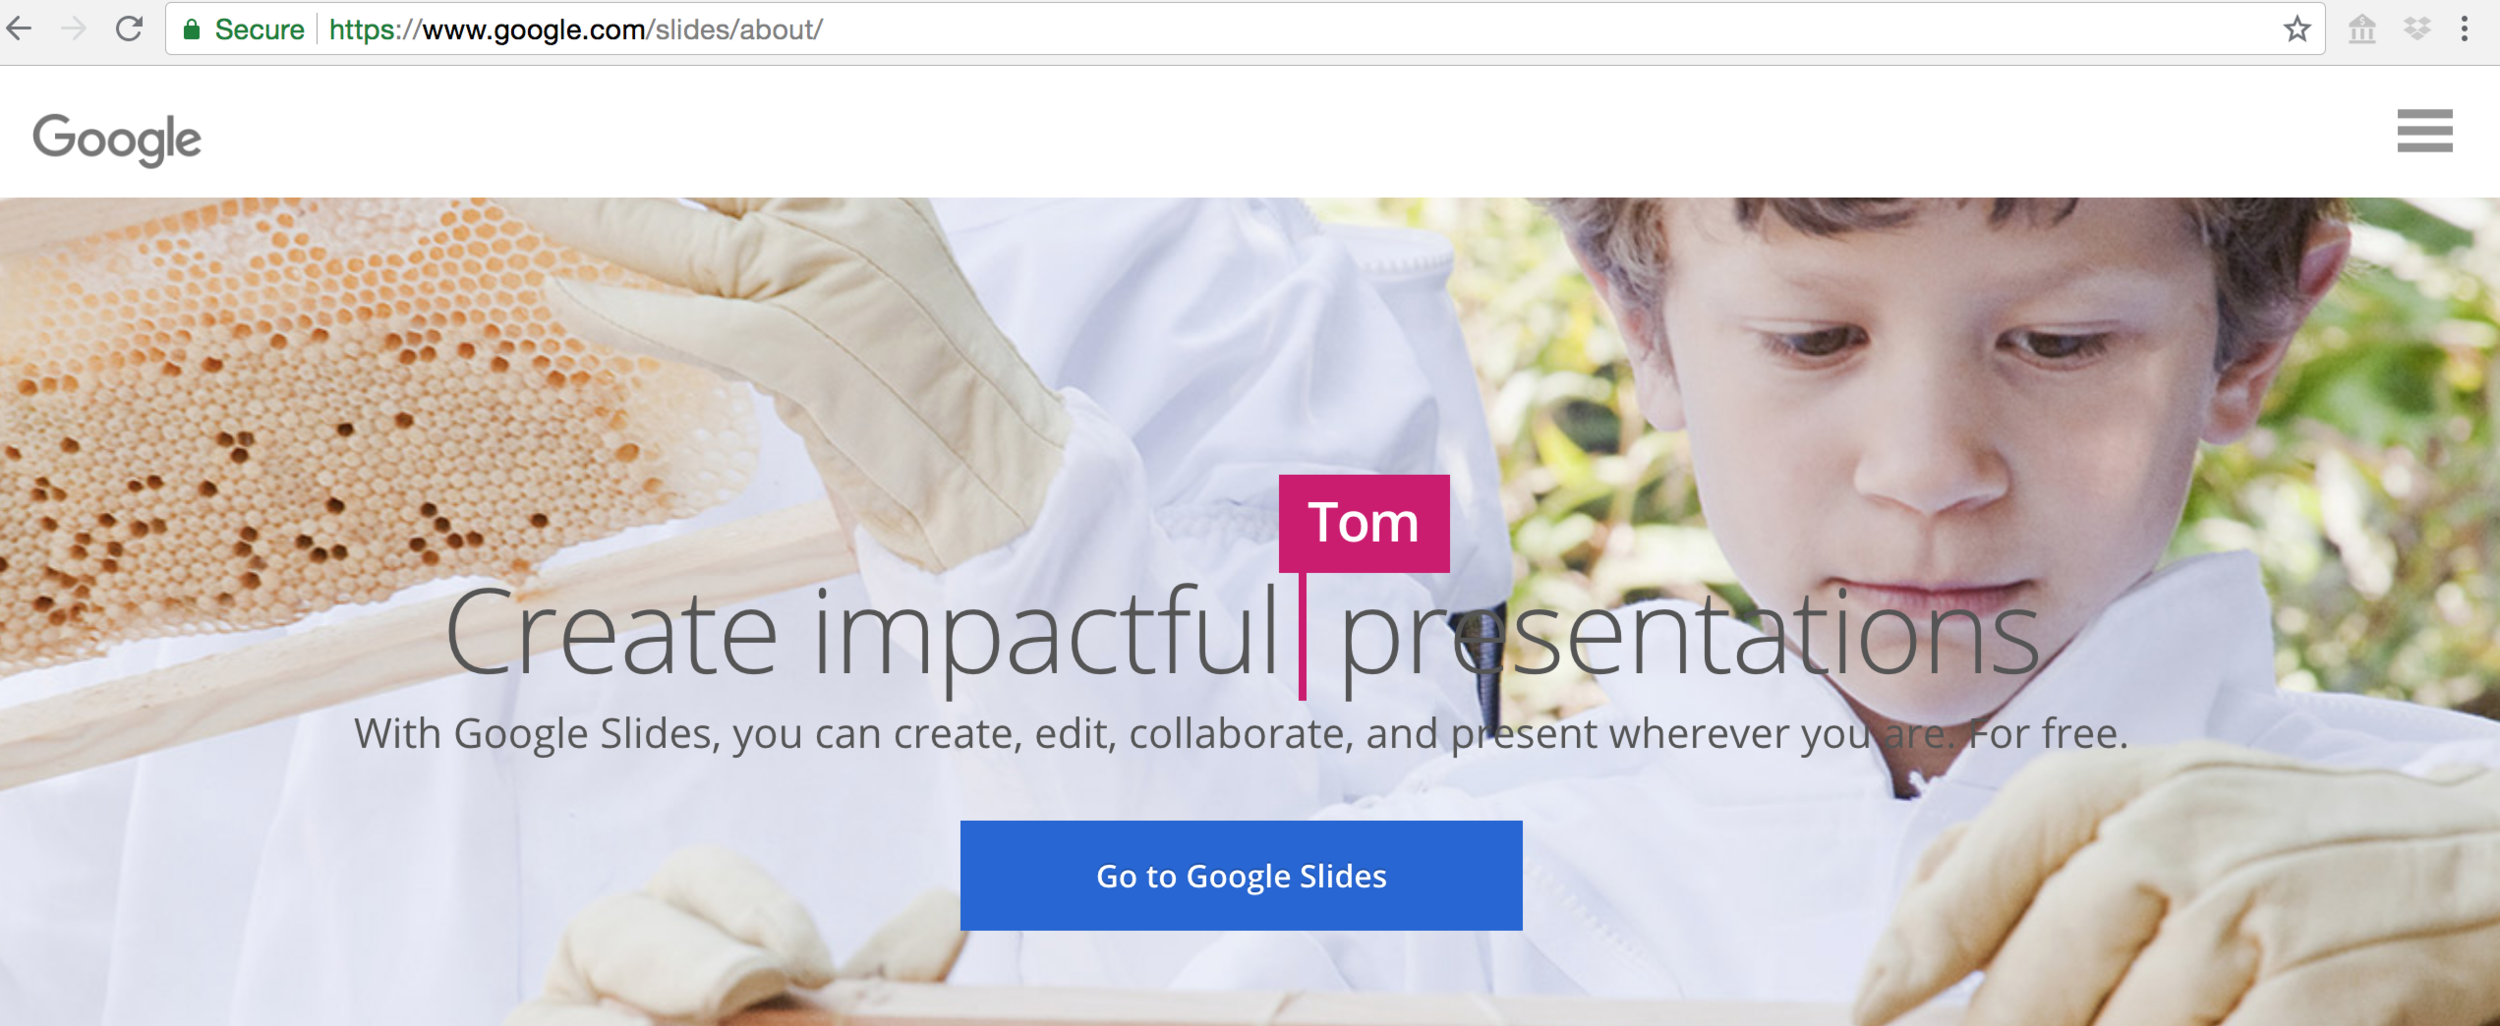
This year, Lyndsey has decided to try doing her portfolios digitally for a change. After looking around for options, she decided that the best way to do it would be through Google Slides. Google Slides supports images, works on both computer and tablet, can easily be shared with and printed by parents at the end of the year, and is free to use.

To start, make a folder in Google Drive called “Student Portfolios”, then go to google.com/slides and click on “Start a new presentation”.
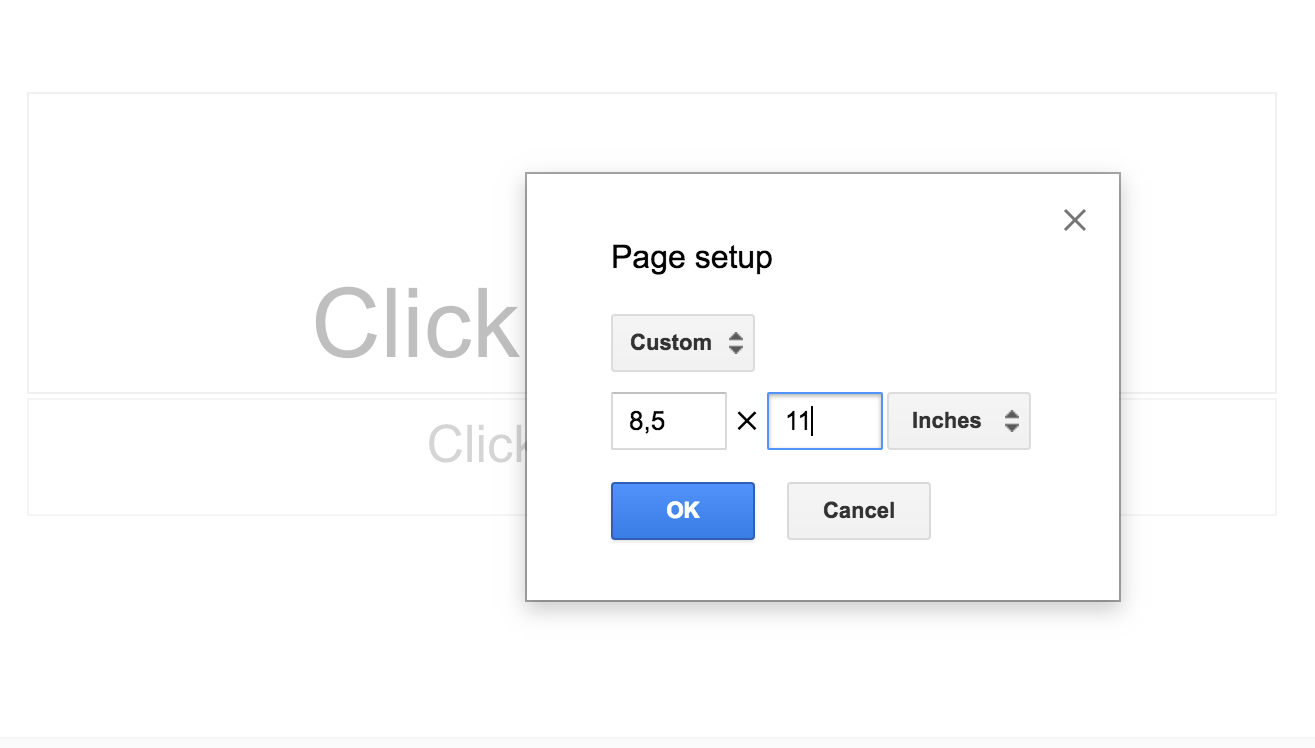
At this point, click on “File” and then “Page Setup” and then chose “Custom”.


After choosing “Custom”, change the page size to 8.5 x 11.
Next, add a few blank slides to work with by choosing the + “New Slide” option.

Next, give your portfolios a cute cover. Open our “Portfolio Essentials” product in “Preview” (on Mac devices) and click “View” and then “Thumbnails”. This allows you to see all of the pages in the document in a side bar. Then chose the cover you want to use in the side bar and chose “Edit” and then “Copy”.


Then go back to your Google Slide and paste the image on the first Slide. To add student work, simply take a picture of the page or artwork you want to use and then paste it into the slide. It is super easy and fast! If you would like to know more about how to set up digital student portfolios, you can watch Lyndsey walk you through the steps in the following video: